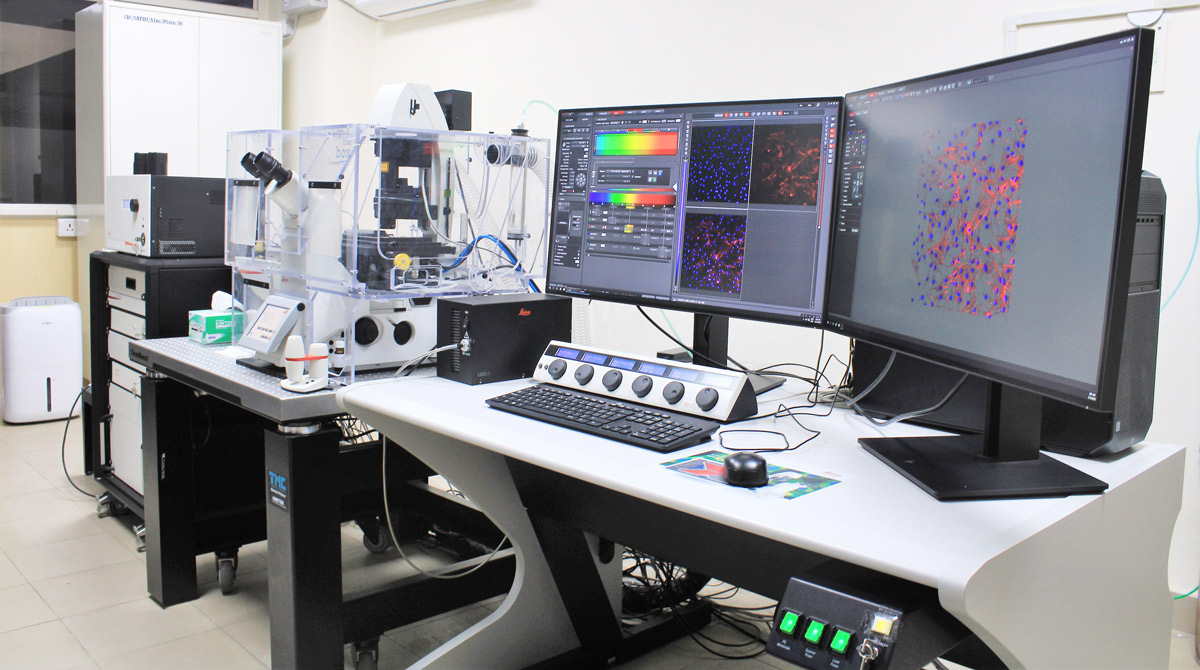
Make: Leica Microsystems
Model: SP8 STED
The Leica Super-resolution SP8 microscope is equipped with different applications: STED based Super-resolution imaging, Live imaging, Fluorescence Recovery After Photobleaching (FRAP), Fluorescence Loss In Photobleaching (FLIP), Fluorescence Resonance Energy Transfer (FRET), Fluorescence lifetime imaging microscopy (FLIM) etc. These high-end applications enable the microscope to visualize the different biological activities as follows.
- Super-resolution microscopy allows to visualize the morphology of different subcellular structure like mitochondria and nuclear pores that can’t be resolved under usual confocal microscopes.
- Super-resolution imaging is particularly useful for the imaging of nanoscale structures in different disciplines like Virology, Neurobiology, Pathophysiology etc.
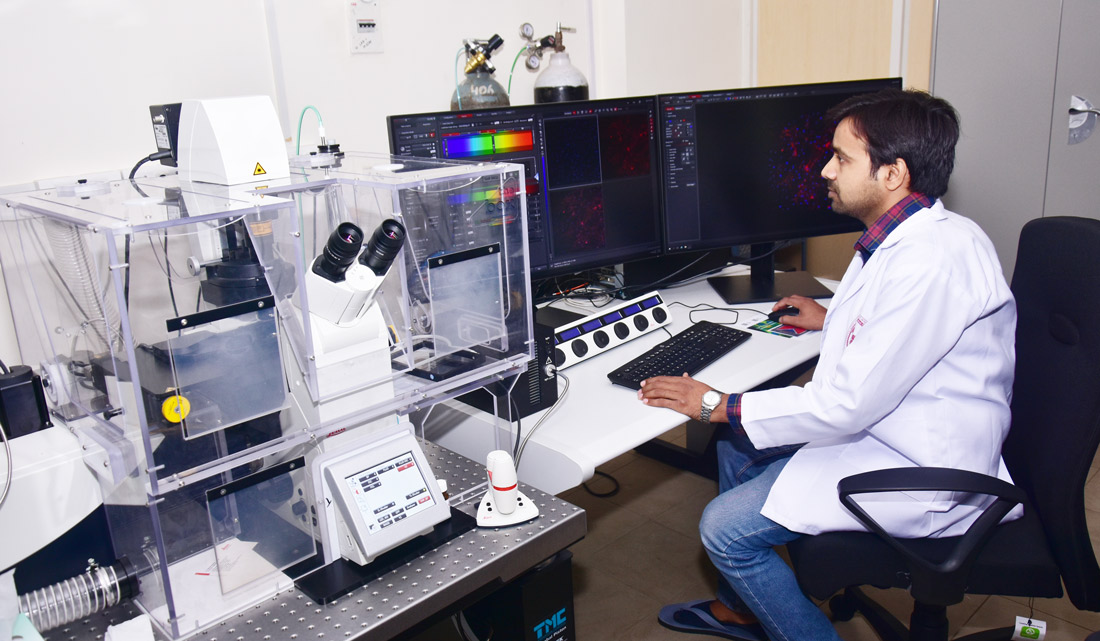
- This is an inverted microscope which is very suitable for fluorescence-based live imaging of wide range of living cell, tissue or organ.
- The live imaging chamber allows the machine to image the sample for several hours and even days. This enables the microscope for prolonged live imaging of biological phenomenon like neuron development, cell cycle progression etc.
- The photobleaching based applications (FRAP and FLIP) allows the microscope to measure the in-vitro or in-vivo diffusion movement of fluorescence tagged molecules in a limited domain.
- FLIM allows to measure the unique molecular environment of fluorophores which is very useful to understand the chemistry of that particular fluorophore.
Required Samples :-
Procedure for STED sample preparation:
All steps are performed at room temperature.
-
Rinse 3x with PBS.
Cells should be washed, culture medium removed by rinsing several times. Tissues should be dissected and cleaned from parts that could hinder image acquisition. Use established lab protocols, if they are known to work. Samples must be treated gently and quickly.
-
Fix with 2% PFA in PBS for 15 min.
Fixation is a critical step, as it defines how well the structure(s) will be preserved. This step becomes even more critical at the resolution STED provides, and thus should be addressed with care. PFA is a common fixative, but it is not always the best performing one. Literature search and optimization may be required, along with the recommended guidelines from the primary antibody manufacturer. Alternatively, a 5 min incubation with ice–cold (–20°C) 100% methanol can be used. Methanol fixation does not require subsequent permeabilization steps (steps 5 and 6 can be ignored). Recently, a new fixation method based on glyoxal was reported and may be an alternative. For details, refer to Richter et al., EMBO J. 2018 Jan 4; 37(1): 139–159.)
-
Rinse 3x with PBS. Remove most of the fixative quickly for the following steps.
-
Wash 3x with PBS (5 min each). Remove the rest of the fixative for the following steps.
-
Permeabilize with 0.1% Triton in PBS for 10 min.
Crucial step to reveal epitopes to primary antibodies. Lower concentrations / shorter incubation times may preserve the structure better, but compromise labeling density. Higher concentrations / longer incubation times may make the epitope more accessible to antibodies but also deteriorate the structure. Some fixatives –e.g. methanol– do not need extra permeabilizing steps.
-
Rinse 3x with PBS. Remove permeabilizing agents.
-
Block with 2% BSA in PBS for 1h.
Blocking can be performed with different agents, normally consisting of inert proteins that bind to non–specific binding partners which would otherwise bind to antibodies and increase the unspecific labeling of fluorescent dyes. It is also advisable to use blocking agents while incubating with antibodies, as e.g. the serum helps in preserving the cellular structure. Thicker tissues might require longer incubation times.
-
Incubate with primary antibody for 1h.
Higher antibody concentrations may be helpful for increasing labelling density for better STED imaging. Longer incubation times may give better results, but also may increase background, so it needs to be checked. In thicker samples (e.g. whole mounts), incubation may take up to days. Alternatively, the incubation can be done at 4°C overnight.
-
Wash 3x with PBS (5 min each).
Washing steps are important, especially when using high concentration of antibodies. 5 minutes is the absolute minimum for washing steps here. Longer washing times (10 – 20 min) can deliver better results. Previous rinsing steps may speed up the process.
-
Incubate with secondary antibody for 1h.
Antibody concentration may need optimization in terms of S/N ratio. A good starting point is a 1:100 dilution for commercially available fluorescently labeled antibodies; for other antibody sources, a good starting point is 5x higher concentration than the recommended one. Thicker tissues need longer incubation times.
-
Wash 3x with PBS (5 min each).
Remove unbound antibodies from sample. Longer and more washing steps will increase the quality of the labeling. Previous rinsing steps may speed up the process. 12. Mount. See “Sample mounting and sample substrate considerations” section. 13. Store at 4° C until imaging. As mentioned above, the staining should look crisp and bright when observed through the ocular. The staining should yield good S/N in confocal images.
-
Mount.
Optimal optical performance requires an environment with a homogeneous index of refraction to enable a high penetration depth and to minimize aberrations. Hence, the mounting medium should have a refractive index that matches the immersion medium of the objective lens. Furthermore, autofluorescence derived from the mounting medium should be negligible upon application of the STED laser (592, 660 or 775 nm). Changes in the refractive index due to sample composition –for example, myelin and fat in tissue samples– may distort the shape of the focal spot and affect the STED performance. In such cases, optical clearing can help.
Prolong Gold and Prolong Diamond anti–fade reagents (Thermo Fisher Scientific) are good starting options for mounting samples for STED and can be used for cells in culture unless a different mounting medium is required. It is very important to follow the indications about the curing times from the manufacturer (for example, we recommend to wait at least 24 h before imaging samples mounted in Prolong Gold / Diamond).
-
Store at 4° C until imaging.
As mentioned above, the staining should look crisp and bright when observed through the ocular. The staining should yield good S/N in confocal images.
User Charges :-
| |
User Charges |
| Services Description / Analysis Type / Description |
Technology |
RUN TIME |
BHU & Start-Ups |
Other Academic Institution, R&D Labs, MSMEs |
Large Industrial Establishment |
|
User Charges per slot (1 slot = 2 hrs.)
|
|
120 MIN |
1500 |
3000 |
4500 |
Note :- 18% GST is applicable with user charges.